‘FONDANT???’
‘AHHHH!!! FONDANT?!! Where do I even begin?’I hear your thoughts from here. ‘There’s no way I could ever do this!’
Well, let me start from the beginning.
MYTHS DISPELLED
About a two years ago, I started eyeing fondant cakes. Mostly, from a distance before that. So, I studied and read every article there was about how to work with fondant. AND THERE WAS A WHOLE LOT!!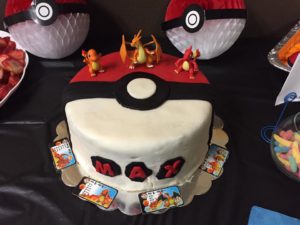
It definitely seemed intimidating, but blindly I decided, ‘Why not?’ and jumped right in. My first attempt at a fondant cake was a Pokemon cake for a birthday I was doing. Let’s just say, that it was definitely a first cake!
However, I learned a ton about the process. The cakes to come, became smoother and well now looking back I wish I had someone there to show me how it was done!
ENTER PLANNER
Yep! You guessed it. I will show you how to do it. This blog, is about fondant decorations. I will have a live tutorial on how to do a fondant cake soon….SO STAY TUNED!
Today I am going to unveil the magical world of fondant decorations. No only how to make it, but you don’t have to be a cake pro to do it!
I should first let you know that I am not a cake professional! I absolutely admire gorgeous 4 tier fondant cakes, with 1,000 fondant delicate designs… but that’s not my game. So this is advice from an average Joe. I will show you that you do not need to invest in thousands of dollars in equipment or tools, if you are just want to dress your child’s birthday cake up a bit.
TO START
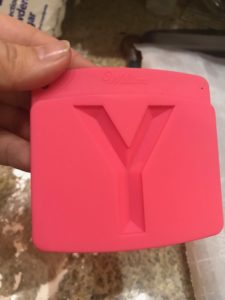
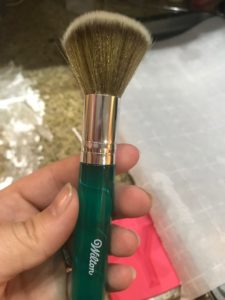
Ok so where to start. I bought my fondant at Walmart. This is what Fondant I used. They have several colors and come in different quantities. To do my cake I purchased purple fondant $10 and a white fondant $10. List of supplies below. I purchased fondant molds, and Wilton decorating brushes.
YOU’VE GOT FONDANT…. SO NOW WHAT?
Powered sugar is an important part of this. DO NOT USE FLOUR. Been there, done that. Yes a blog for another day…
Lightly powder your surface you will be working on and your silicone mold.
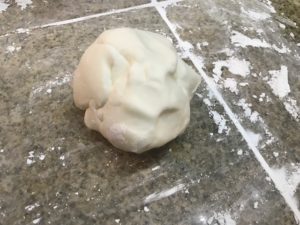
Ok, now we are rolling… well almost! Working with fondant I think is a lot like working with clay. Lol, I know a great comparison. But you have to warm up the pieces in your hand. The warmer it gets the more pliable it becomes.
This post unfortunately isn’t about how to apply fondant to a whole cake, just the decoration pieces. I promise I will bring that info soon.
NOW FOR THE FUN PART
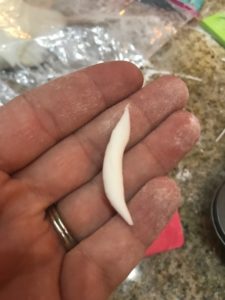
Now for the part you have been waiting for. Once the fondant is pliable, pull off a small piece and roll it onto your hand. It should be thin and the size of the mold. Gently press into the mold, making sure the edges are inside the outline. Or you get some funky shapes. YEP took me sometime to sort this out. Just think of the trial and error time I am saving you!
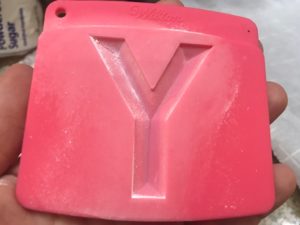
Press the fondant evenly into the mold. If there is still extra that won’t fit, you can use a knife to lay straight on the back of the mold to cut-a-way the extra.
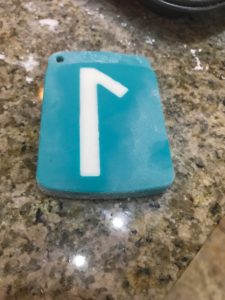
Once in the mold, you can use a tool like this to lightly separate the edges from the mold and the fondant. You can slowly flip the mold upside down and if it was powdered correctly,it fall out of the mold into your hands.
TIP: If you pull it out or twist the fondant shape will get distorted. If it does get out of shape, DON’T PANIC! Just heat it up in your hand and start over.
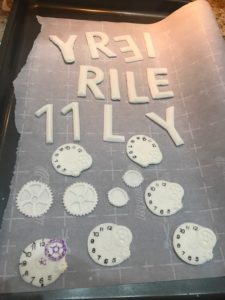
Place your pieces on a wax sheet, while you start on the next. I like to dry out my fondant pieces for 24-48 hours. Just makes them easier to apply to the cake. And guess what??? all you need is a little water with a little paint brush on the back of your fondant piece to stick it to your cake. WHAT? Mind blown, I KNOW!
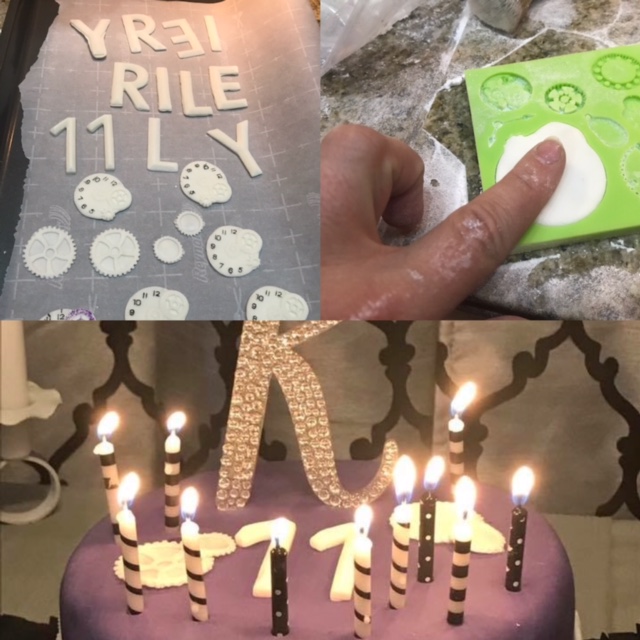
Here is a sheet of all my letters and shapes. Can you tell which ones were my firsts? Well, trial and error for sure!
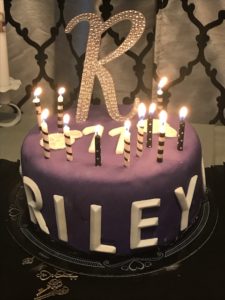
HERE IS THE FINAL PRODUCT:
IF FIRST YOU DON’T SUCCEED…
Yes try, try, again. I have talked to a lot of people that just quit after the first fail in fondant. What is great is if you don’t like the way it turned out, just heat it back up in your hand and start over. No harm, no foul!
PRACTICE MAKES PERFECT!
We have all heard it, but it’s true! The more you practice with fondant, the more comfortable you get and the faster the process goes.
I would suggest for your first fondant decor that you practice a couple of nights before the big day to make sure you get the result your looking for.
Products and where I got them:
Well ladies and gents! That’s my tips for fondant decorations. See not so scary after all?
I would love to see what you are creating! If you are interested in being a part of my online Facebook community for planners creators and parents… Click this link:
Good Luck Creators!
Melissa Estepp
CEO and Founder
Premier Events By Melissa
“Helping you create your perfect moments”

P.S. Event Planners aren’t so scary either… see here